We often hear about Docker & how it helps with application development & deployment. For many developers, the initial pain point is getting started with Docker, it may be overwhelming to understand & differentiate between things like what a Docker is, what Containers are, and what role Images play, etc.
In my opinion the best way to learn Docker is to just dive in and try out a few basic commands to familiarize yourself with it. The intent of this guide is to give a very brief introduction to Docker and get you started with a very basic application.
So what is Docker? Docker is an open source containerization platform used for developing,
deploying & managing applications in a lightweight virtualized environment.
Have you encountered any of these scenarios?
- You have recently joined a team & have to setup development environment. Going through multiple documents, downloading various applications & looking up configurations. Spending hours or even days to fix the environment if you miss a step or you’ve configured something wrong.
- Working on multiple projects which requires you to install different versions of a software and configure them so that they don’t break, or worse, managing 2 incompatible package dependencies on your system.
- All set to demo your application, but it just wouldn’t run in another system. Or you’ve just delivered a feature & it is immediately flagged as critical by the testing team.
Docker helps standardizing environment across development, testing, deployment, etc which helps overcome the works on my machine phenomenon. With Docker, you no longer have to install any software on your system, apart from Docker of course. Since it is system agnostic, the same commands work across all systems. Compared to a VM, Docker is lighter, faster and resource efficient.
Pre-requisites
- Install Docker on your system, a detailed guide for it can be found here
- Some knowledge of command line
- Basic understanding of any one programming language
For this example, we’ll be making a very basic java application. Don’t worry if you are not familiar with java, we’re just writing an application that prints Hello World! You can just follow along and download the JAR file from here, to run the application.
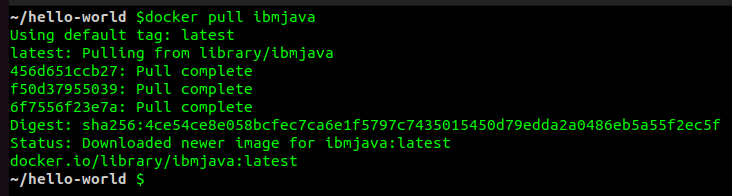
Once you’ve confirmed that you have Docker installed & running, head over to Docker Hub & look up ibmjava

As of writing this guide, the latest version available is 8.0.7.20. Since we will be using the latest
version of the image, we can just run the command highlighted below.

Once complete you should see something like this on your system.
Now let’s create a simple class which prints Hello World to the command line.
|
If you are familiar with java, compile the class & create an executable jar, or you can just use the JAR file from here.
Now we’ll build a custom image using ibmjava as our base image & our jar file.
Let’s start by creating a file Dockerfile in our application folder & add the following lines to it
|
FROM ibmjava
RUN mkdir -p /home/app WORKDIR /home/app COPY hello-world.jar . CMD ["java", "-jar", "hello-world .jar"] |
Let’s breakdown each line to understand what is happening.
FROM ibmjava : This will use the ibmjava image that we had pulled earlier as our base image
RUN mkdir -p /home/app : This will create a directory where we’ll be saving our artifact inside the container
WORKDIR /home/app : This sets up our current path inside the container, going forward we do not have to repeatedly specify /home/app for all commands
COPY hello-world.jar . : This copies the hello-world.jar from our local machine to the current
working directory of the container
CMD ["java", "-jar", "hello-world .jar"] : This is an entrypoint command that runs our jar file in the container when it is run
Now we’ll build this image, by running the following command
|
docker build -t hello-world:1.0 .
|
It may take a while to complete & would require some patience. You should see something like this once image is built
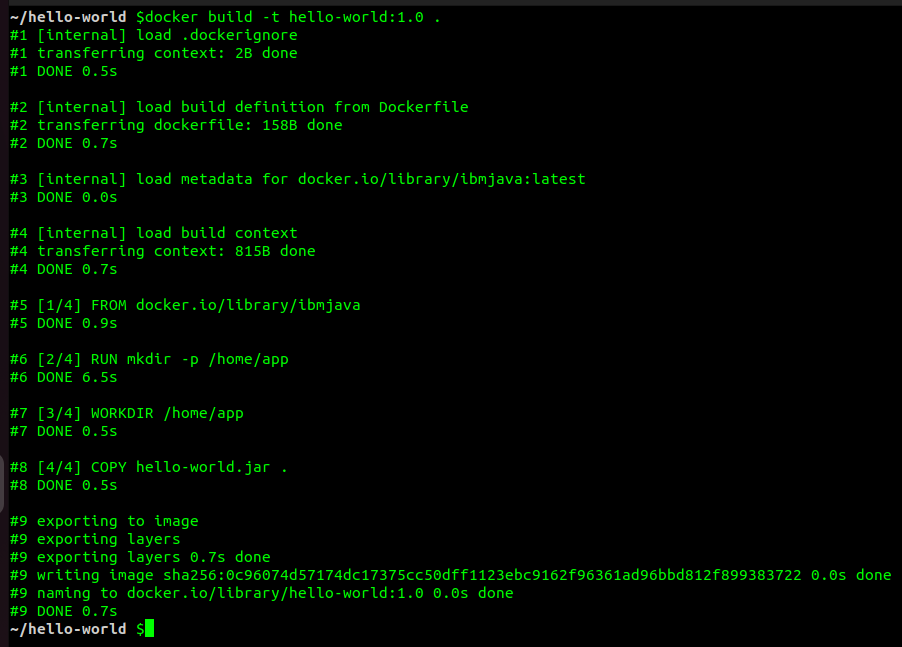
We’ve named our image as hello-world & tagged it as 1.0
Now to run the program in a container, we’ll use the image name and the tag like so
|
docker run hello-world:1.0
|
You should see the following output

This was a very basic usage of Docker. Now that you are familiar with Docker, go ahead and explore other great features it offers.