Imagine this: It’s the end of the month, and you’re buried under piles of bank statements, manually cross-checking transactions, and trying to reconcile every entry with your books. You double-check, triple-check, but there’s always a mismatch. Errors creep in, leading to delays, frustration, and unnecessary stress. If this scenario sounds familiar, you’re not alone.
But what if reconciliation didn’t have to be this way? What if you could eliminate the hassle and make it effortless? That’s exactly what TallyPrime’s enhanced bank reconciliation is designed to do.
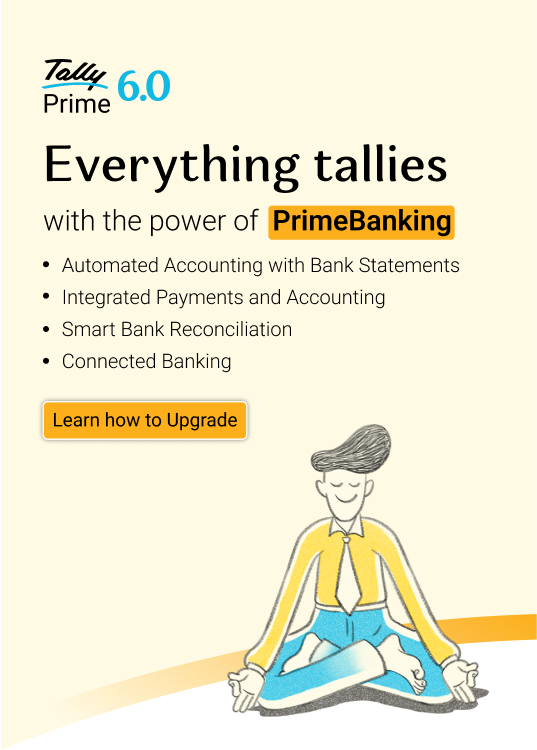
TallyPrime’s smart bank reconciliation
Reconciliation doesn’t have to be a time-consuming task anymore! With TallyPrime’s latest update, matching your bank transactions with your books is quicker and easier than ever. The new smart reconciliation feature ensures your accounts stay accurate while drastically reducing manual effort.
Introducing automatic reconciliation – Your one-click reconciliation. Simply import your bank statement into TallyPrime, and it will automatically reconcile transactions that matches with your records. No manual cross-checking—just accurate, seamless reconciliation.
If a transaction doesn’t match exactly—say, the amount differs slightly due to bank charges or rounding off—TallyPrime helps you identify potential matches using details like date, reference number, or narration. This further minimizes your manual work while assisting you in reconciling your statements accurately and effortlessly.
You’ve matched most of your transactions, but what about the ones that are still unaccounted for? Manually tracking and recording them can be a hassle—but TallyPrime has got you covered? With TallyPrime’s automated accounting feature, you can create receipt and payment vouchers. Continue reading for more information.
Automated accounting for unreconciled bank transactions
With TallyPrime’s automated accounting, you no longer have to worry about unrecorded transactions. By simply importing your bank statement, TallyPrime helps you create payment, receipt, and other transaction vouchers, ensuring your books stay updated and reconciled with minimal effort.
Just assign ledger names or common ledger and complete the entire accounting process with a single click.
The best part? You can select one or multiple transactions at once and instantly record vouchers. This smart, streamlined workflow eliminates repetitive data entry and also allows for inclusion of additional bill details or allocations as needed while creating vouchers – boosting efficiency and ensuring accuracy in keeping records. Need to add bill details or allocations? TallyPrime makes it easy, ensuring your records are always accurate and hassle-free.
Supports 145+ banks
TallyPrime works with multiple bank statement formats, making it effortless to import and reconcile transactions, no matter which bank you use.
With TallyPrime’s smart bank reconciliation, you can eliminate errors, reduce manual effort, and keep your books up to date with minimal intervention. Plus, get live balances and real-time updates directly in TallyPrime via Axis, SBI, ICICI and Kotak banks, and make secure payments straight from the software using Axis and SBI.
Final thoughts
By automating transaction matching, businesses are eliminating the risk of manual errors and drastically reducing the time spent on reconciliations. This means faster, more accurate financial processes and an invaluable boost in productivity.
The real-time visibility into cash flow helps businesses stay on top of their finances, while the seamless payment and receipt processing ensures that every entry is correctly recorded without the hassle of redundant data entry. With TallyPrime, businesses are confidently streamlining their reconciliation process, making it effortless and stress-free.
Join the many businesses already benefiting from smarter, faster financial management. Ready for a smoother, more efficient way to handle your finances? Make the switch today and experience the difference!