Actions are a set of operations performed on the issues/queries posted in the Support Centre. Based on the type of operation performed the status and associated properties change reflecting in the movement of the issue/query from one folder to another.
The following actions are made available:
Mark as Issue Resolved
Mark as Task/Appointment Completed
Mark as Task/Appointment Cancelled
Mark as Info Only
Mark as Not Info Only
Mark as Junk
Mark as Not Junk
Move as new Issue
Propose/Move Issue to KB
Reject Proposed/Moved Issue to KB
To mark an issue as resolved follow the steps shown
In the Support tab
• Select the required Issue which is open
• Click Actions
• Select Mark as Issue Resolved
The Mark as resolved window appears as shown:
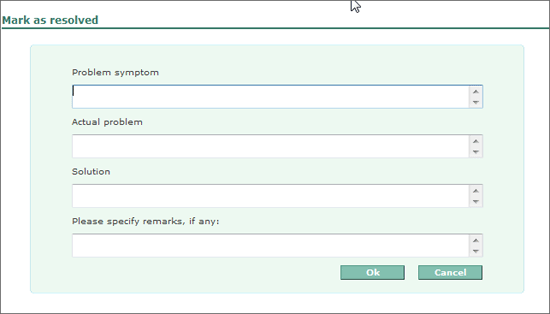
Enter the problem as described earlier in the Problem symptom
Enter the problem as encountered in the Actual problem
Enter the solution provided in the Solution
Enter the remarks in Please specify remarks, if any field
Click OK
The Mark as task/appointment completed window appears displaying the operation successfully performed message
• Click Close
In the Support the status for the selected Issue changes to Resolved
To mark the task/appointment as completed follow the steps shown
In the Support
Select the task or appointment which is open
Click Actions
Select Mark as Task/Appointment Completed
The Mark as Task/Appointment Completed window appears as shown
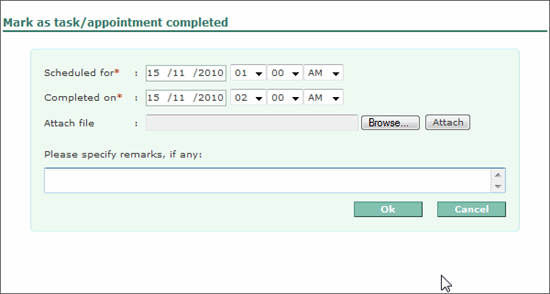
By default, the Schedule for is prefilled with the date & time selected while creating the appointment
The Completed on is pre-filled with the date and time calculated based on the duration specified for completing the task
To attach a file, click Browse, select the required file and click Attach
Enter remarks, if any
Click OK
The Mark as task/appointment completed window appears displaying the operation successfully performed message
Click Close
In the Support the status for the selected Task/Appointment changes to Resolved
To mark the task/appointment as cancelled follow the steps shown
In the Support
Select the task or appointment which needs to be cancelled
Click Actions
Select Mark as Task/Appointment Cancelled
The Mark as Task/Appointment Cancelled window appears as shown
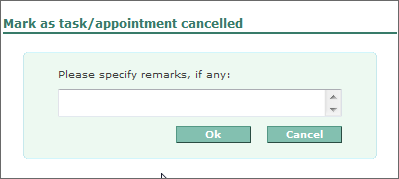
Enter remarks, if any
Click OK
The Mark as task/appointment cancelled window appears displaying the operation successfully performed message
Click Close
In the Support the status for the selected Task/Appointment changes to Cancelled
Appreciation or thank you mails received at the support centre need to be marked as Information so that they are not counted as part of the issues pending resolutions.
To mark an email as info, follow the steps shown
In the Support tab
• Select the required information mail
• Click Actions
• Select Mark as Info only
The Mark as Info only window appears as shown
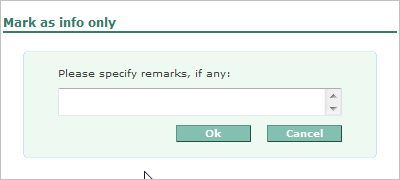
Enter the remarks, if any
Click OK
The marked mail is moved to Info only folder in the Folder View pane.
Any mail that was accidentally marked as Info Only can be changed and brought back as a support issue.
To mark an email as not info only, follow the steps shown
In the Support tab
• Select the required information mail
• Click Actions
• Select Mark as not Info only
The Mark as not Info only window appears as shown
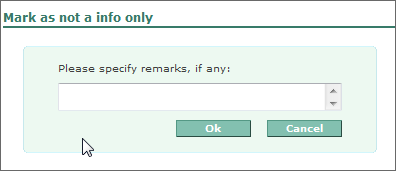
Enter the remarks, if any
Click OK
The marked mail is moved from Info only to All folder available in Account Issues
Mails that do not have any support issues or mails that are not related to the company’s business can be marked as Junk.
To mark an email as Junk, follow the steps shown
In the Support tab
Select the required information mail
Click Actions
Select Mark as Junk
The Mark as Junk window appears as shown
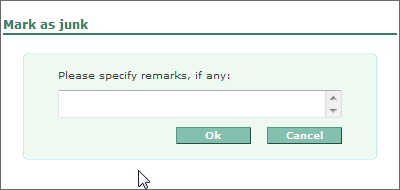
Enter the remarks, if any
Click OK
The mail marked as Junk is mail is moved to Junk in the Folder View.
Mails that were accidentally marked as junk can be moved back to the original folder by marking them as not junk emails.
To mark an issue not as Junk, follow the steps shown
In the Support tab
Select the required information mail
Click Actions
Select Mark as not Junk
The Mark as not Junk window appears as shown
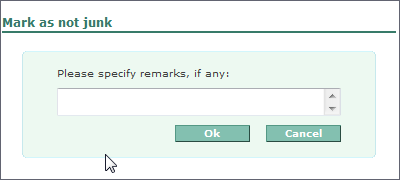
Enter the remarks, if any
Click OK
The mail marked not as Junk is moved to All in the Folder View.
This option is useful when you want to extract a sub-issue from the list of interaction so as to generate new ticket and track it. This scenario is applicable when you are interacting with a customer in a chain and a new issue arises out of the interactions.
To move as a new issue, follow the steps shown
In the Support tab
Select the required information mail
Click Actions
Select Move as New Issue
The Move as New Issue window appears as shown
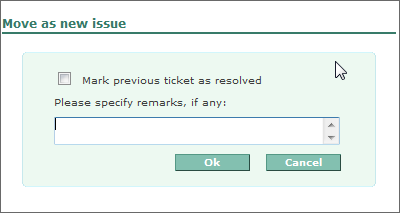
Check Mark previous ticket as resolved to mark the previous issue in the list as resolved.
Enter the remarks, if any
Click OK
The issue marked as Move as New Issue is marked New and remains in the new folder
Use this option when you want to propose content creation for KB on a specified topic or move the content which has adequate information to Knowledge Base.
To propose or move the content to KB, follow the steps shown
In the Support tab
Select the required issue/query which is unique and has no information with the Knowledge Base
Click Actions
Select Propose/Move Issue to KB
The Propose/Move to KB window appears as shown:
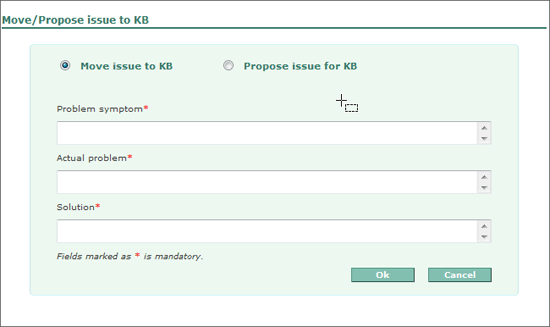
Check the required option
Move to KB – The contents provided in the appropriate fields are moved to Knowledge Base as an article.
Propose to KB – You can request for an articles for KB on the issue/query
Note: On selecting Move to KB it is mandatory to provide information in all the fields
Enter the required Problem Symptom
Enter the Actual Problem encountered
Enter the Solution
Click Ok
Based on the option selected the content provided is included as an article in knowledge base or proposed for content creation in KB.
Use this option to reject the proposed content creation for KB on a specified topic or reject the move to create content in the Knowledge Base.
To propose or move the content to KB, follow the steps shown
In the Support tab
Select the required issue/query which is unique and has no information with the Knowledge Base
Click Actions
Select Reject Proposed/Moved Issue to KB
The Reject Proposed/Moved Issue to KB window appears as shown:
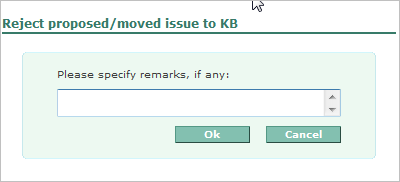
Enter the reason in Please specify remarks, if any
Click Ok