Get started effortlessly with TallyPrime Cloud Access
Let's Begin >>

Experience a step-by-step guide to simplify your setup and get started with TallyPrime Cloud Access.
Check your inbox for an email with login credentials and setup details.

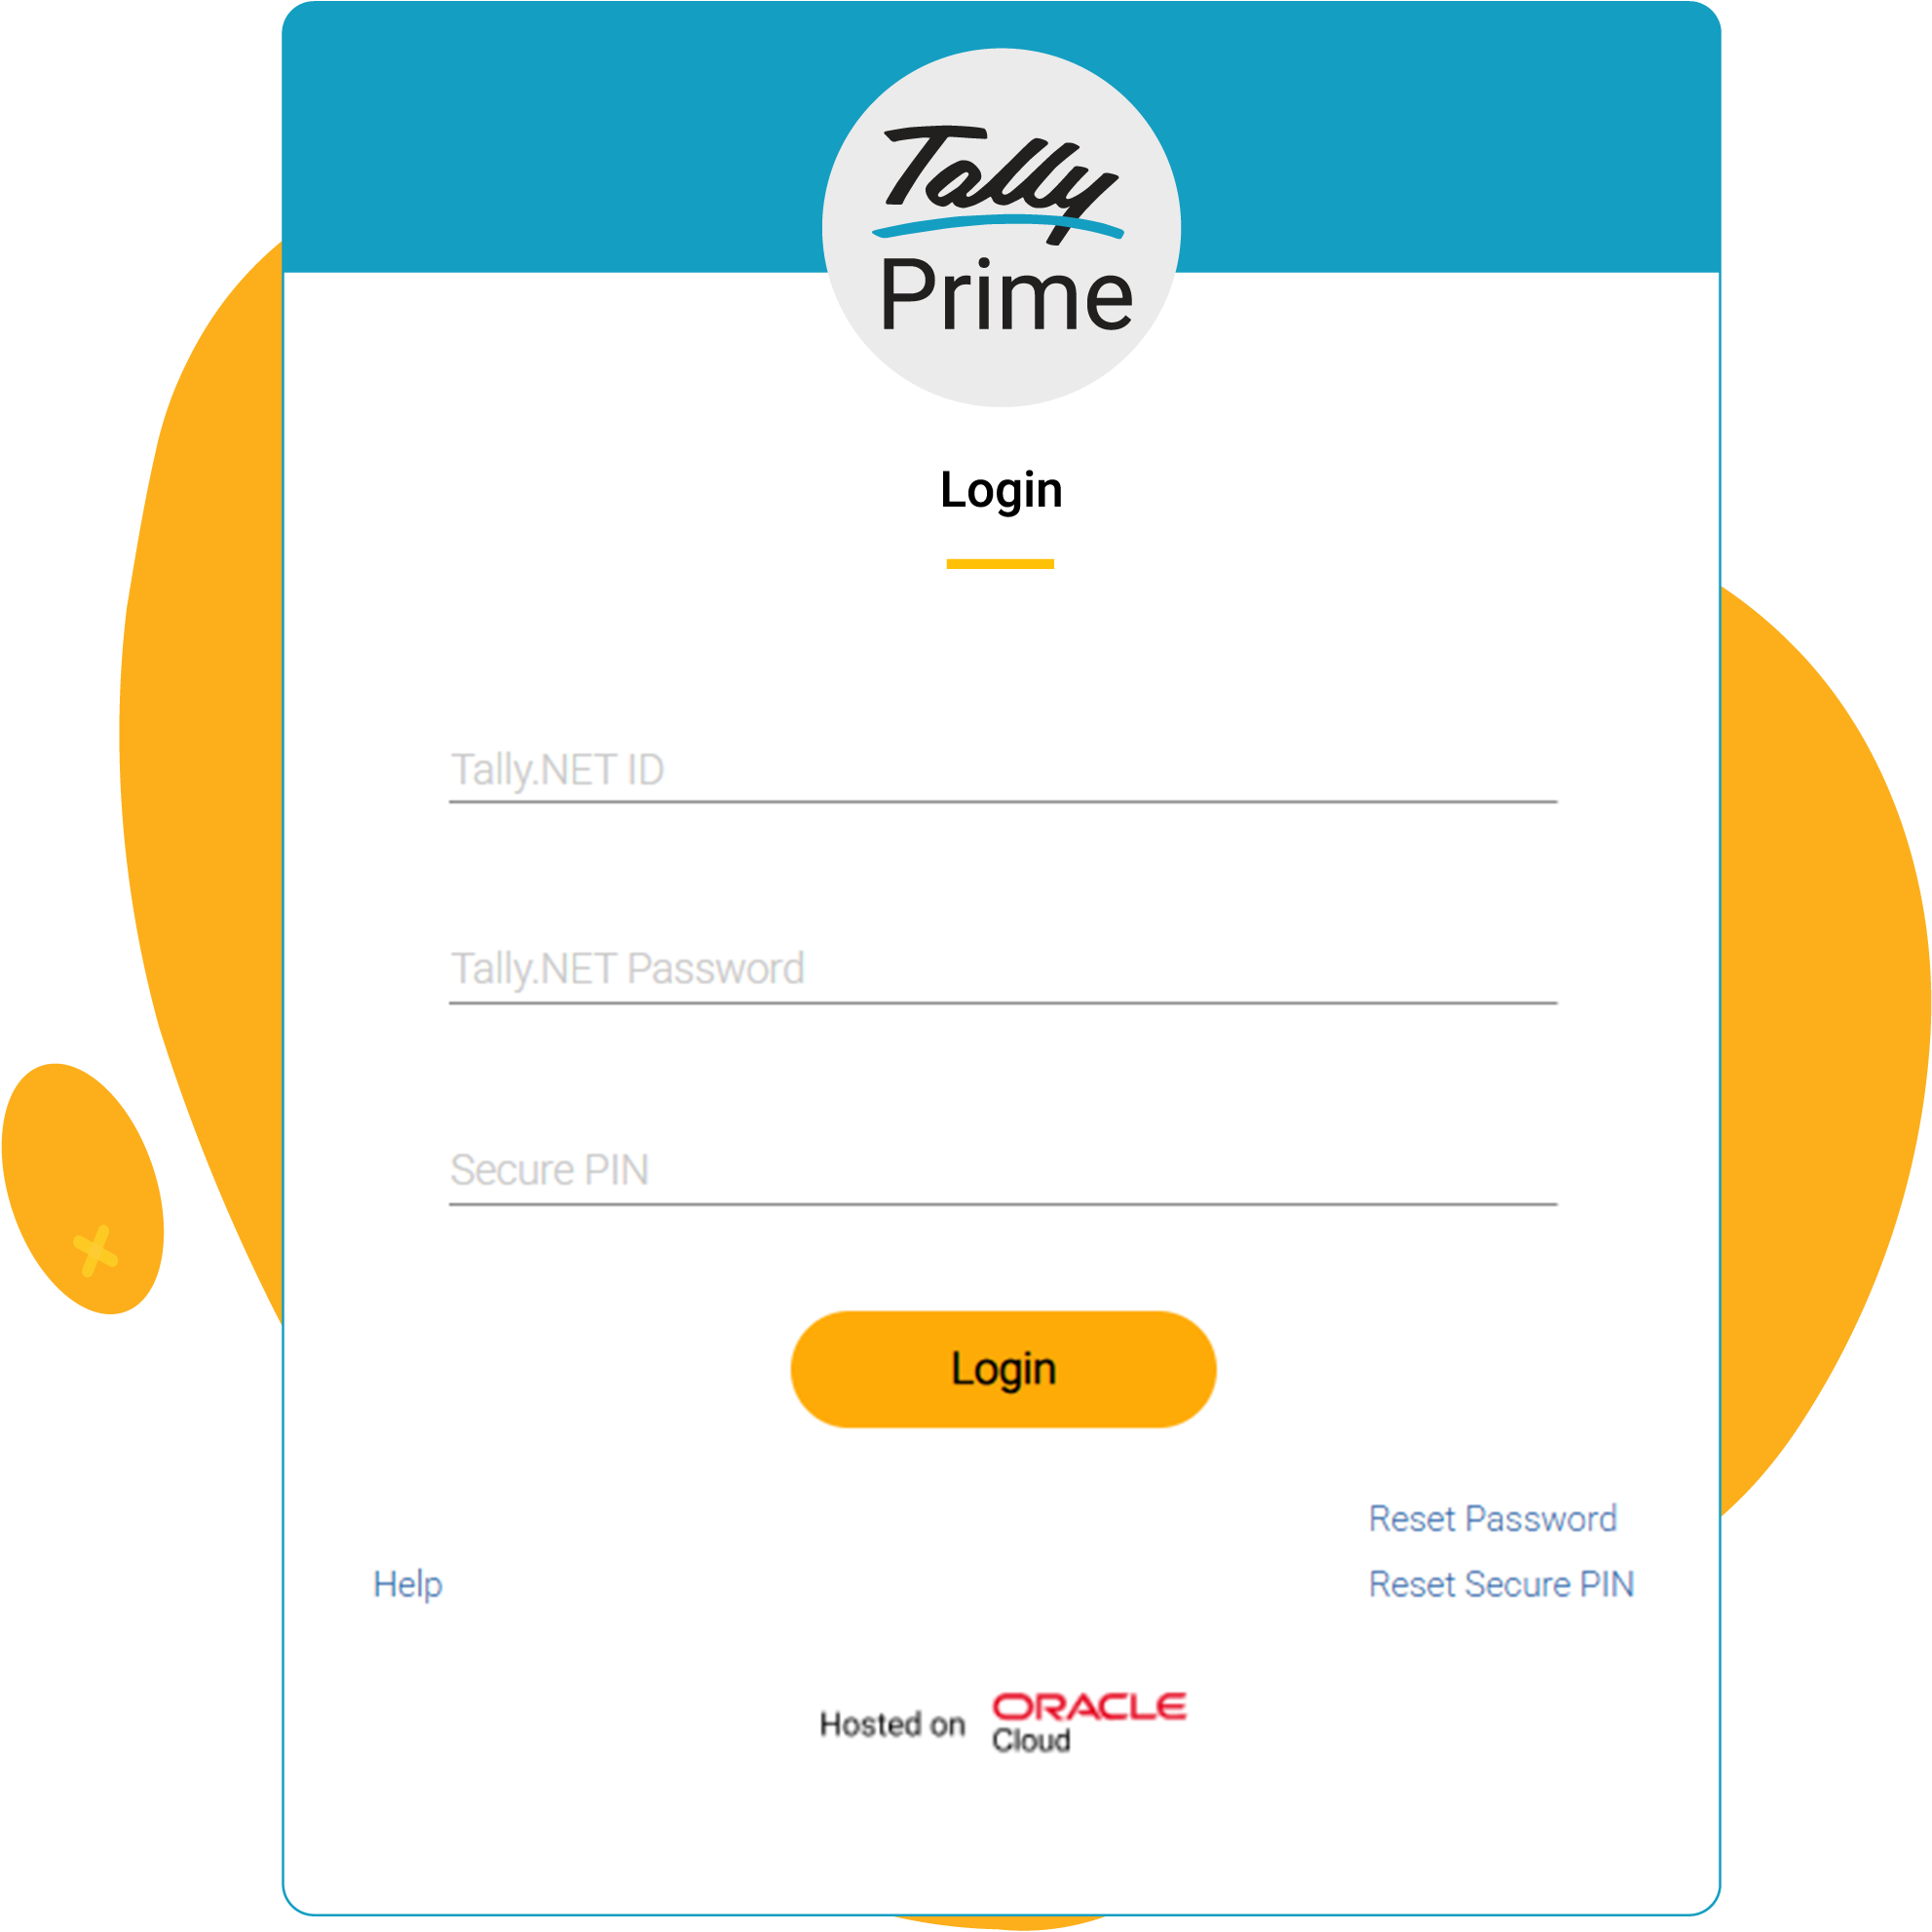
Log in to TallyPrime Cloud Access via the client app or web browser using the credentials provided.
Open TallyPrime, select Reactivate License.

Upload your data to the virtual computer:

To set up your data:

TallyPrime Cloud Access offers TallyPrime’s latest release, hosted on a secure cloud platform powered by Oracle Cloud Infrastructure (OCI), providing anytime access with reliable storage and scalable performance.
You can access it seamlessly on Windows and Linux, and if you’re on macOS, simply log in through a browser.
Our dedicated support team is available to assist with your initial setup and any technical issues you may encounter. For more complex concerns, we will ensure you receive the necessary assistance promptly.
The system specifications for each plan depend on the number of users. For detailed information, please refer to the specifications guide.
Yes, each pack includes dedicated backup storage, starting at 5 GB for the personal pack and scaling up to 100 GB for the enterprise pack.
You can access your account via a secure web portal or remote desktop connection.